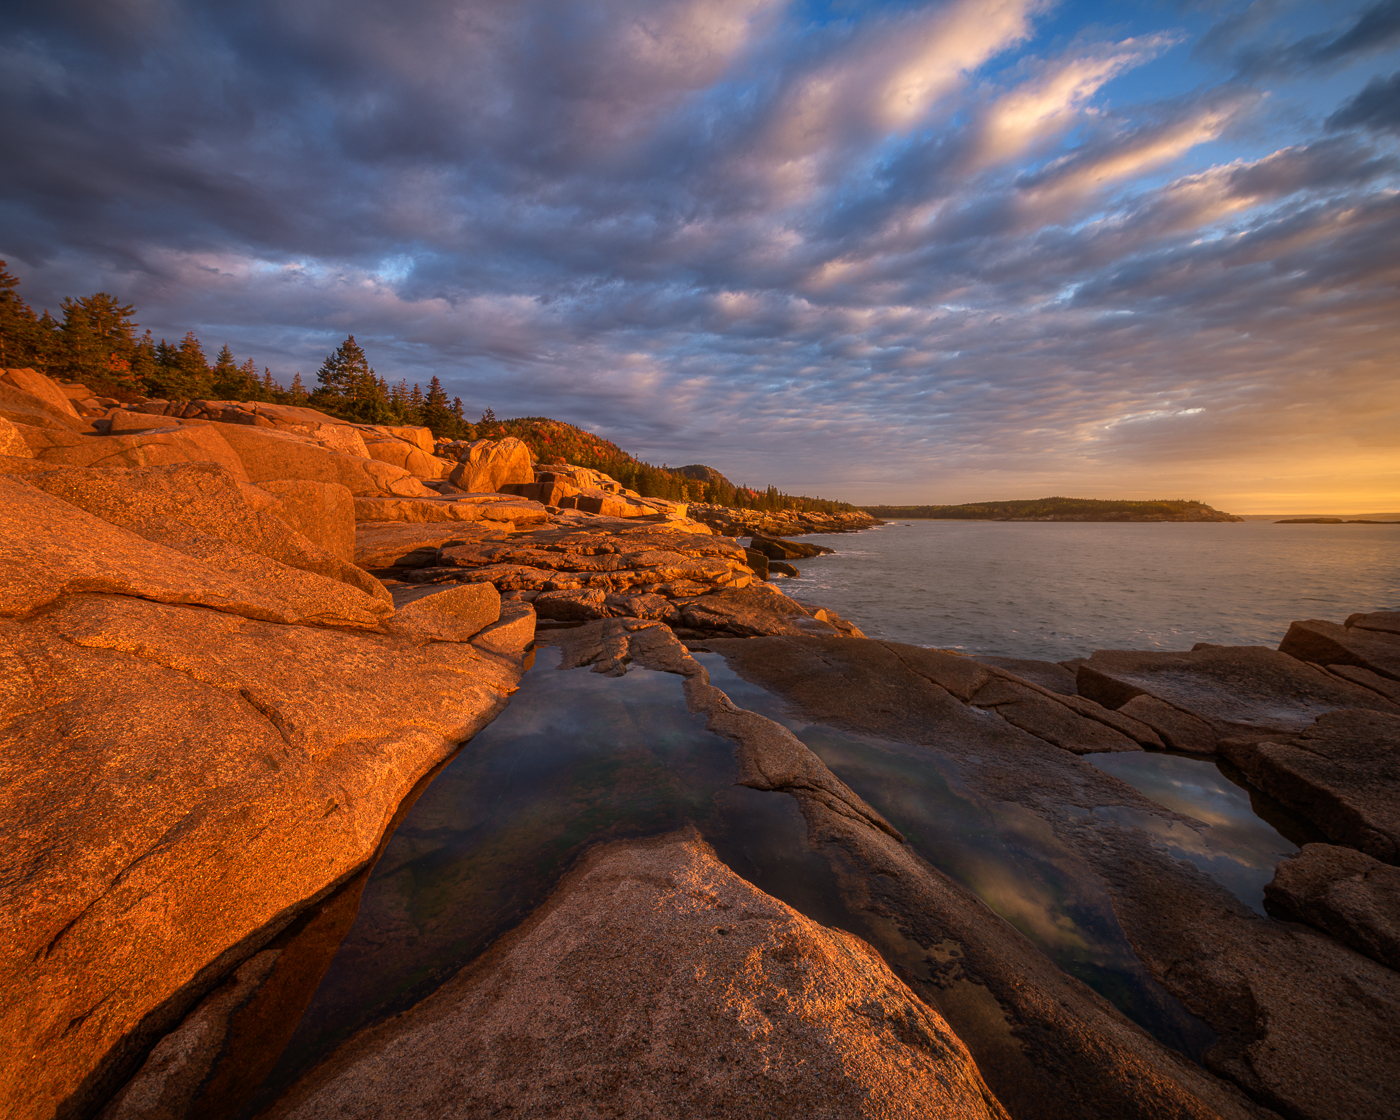
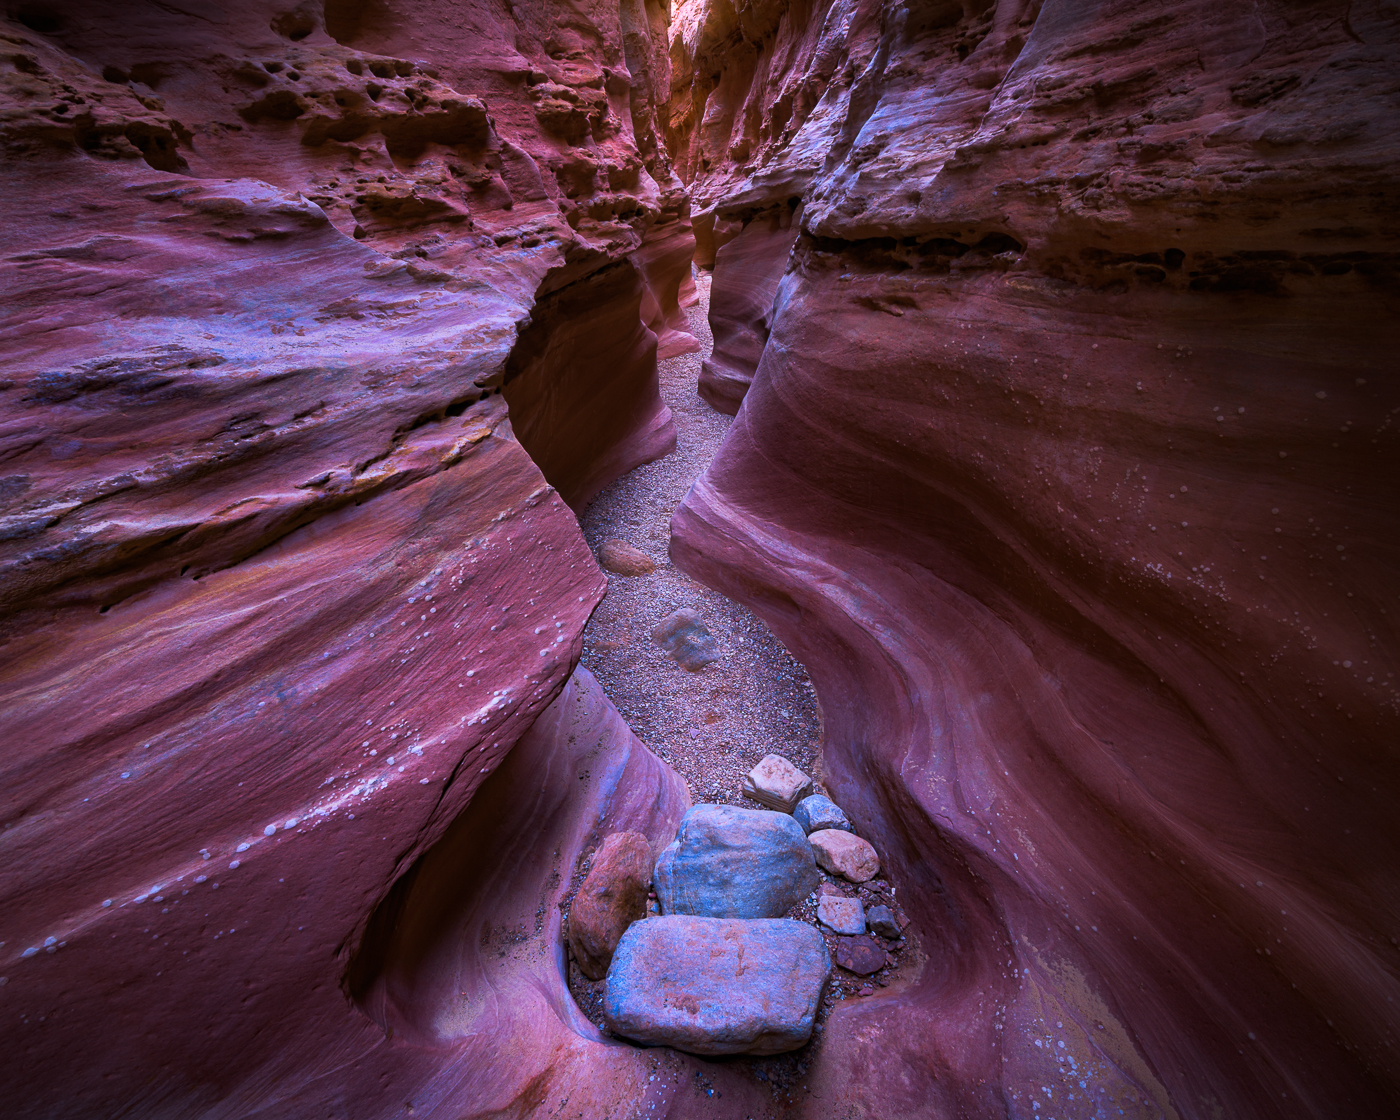
So, I’ve got this friend… No, really I do! He’s real, not just made up. Anyway, we’ve been shooting together for a long time, routinely critique each other’s comps in the field, and email images back and forth for feedback or just to brag a little. Lately I’ve noticed our processing, particularly where color is concerned has started to deviate. It’s really obvious when we return from shooting together (same general subject under the same light) and because we shoot with the same body and generally the same glass, and use the same monitor/calibrator. So like most good friends that have know each other for a long time it usually results in some good-natured jabbing and arguing. For a while I found myself trying to convince him that my point of view or rendition of the scene was more “accurate” than his and that he should have presented the scene with more warmth or his shadows were too cool, magenta, etc. It finally dawned on me that his rendition was no less “accurate” than mine, and that color in this case was in the eye of the beholder, or more specifically the photographer.
Really, who was I to tell him how the shadows should be presented or whether or not the colorcast was natural? The only reason I had an opinion was because I was there when he shot it. I shot it too and ultimately chose a different approach or presentation when completing the image in post. Ultimately what’s important is whether or not his presentation satisfies him creatively and/or communicates the scene the way he intended.
I will say this however; I’ve noticed that with regard to white balance, seldom does one size fit all. In other words, rarely does a single white balance value render all color in a scene in the best way. Among other reasons, most of us shoot raw because we can go back and tweak the white balance during post production. After settling on a generally good white balance we may adjust color temperature selectively using a color balance adjustment layer and mask in Photoshop. On of my new favorite techniques for doing this can now be done right in camera raw, often eliminating the need for this step in PS.
The newest versions of camera raw in PS and LR allow for selective adjustment of white balance (temperature and tint) using the adjustment brush. Now you can brush varying degrees of white balance, warmth (yellow-blue) and tint (magenta-green) into very select portions of your image. It quite possibly could be my favorite capability in Lightroom CC, except maybe the lens corrections check boxes for fixing chromatic aberration and lens profiles.
Take this image for example. This is from the Tarn in Acadia National Park in Maine. In the morning the marsh is in shadow but the hillside to the south is bathed in warm sunlight, which casts a beautiful warm reflection of fall color on the water’s surface. On clear days the marsh grasses are heavily influenced by the open shade and their lighter tips pick up a wonderful blue cast from the sky above. A one-size fits all approach to white balance would neutralize one of these colorful areas while rendering the other nicely. A warmer white balance enhanced the reflected color on the water’s surface but came close to negating the blues in the grasses, while a more neutral or cooler white balance negated some of the lovely warmth in the reflection. To get the best of both worlds I simply set a white balance that was pleasing for the grasses and then brushed in a warmer white balance on the water’s surface using the adjustment brush in Lightroom. By using a longer shutter speed to blur the grasses and water slightly during my exposure I was able to fulfill my goal of creating more of an abstract intimate landscape.
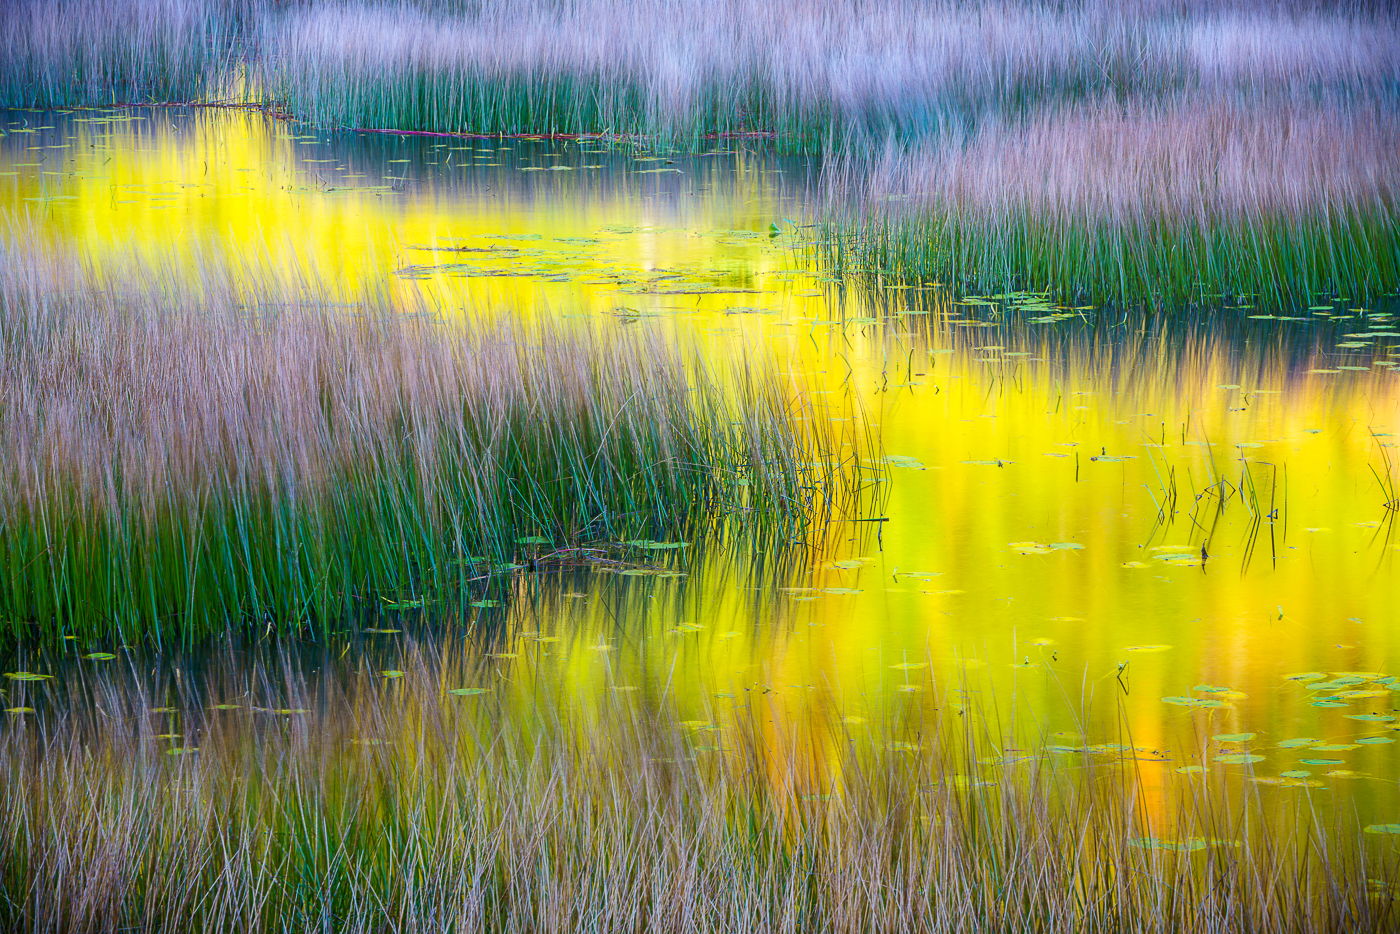
“Autumn Blush,” Acadia National Park, Maine Sony A7RIII 150mm f16 @ .4 sec ISO 100


