As a photographer and educator I work with a lot of folks that are fairly new to photography and/or getting a lot more serious about their shooting. Inevitably I’ll find myself in a field situation, usually while shooting sunrise or sunset and the light is going off, where one or more folks in the group start to freak out a little bit. I can see it on their faces and in their body language. They get all wide-eyed and jittery, usually blinking uncontrollably, dropping lens caps, fumbling with filters, and making 15 trips back and forth to the camera bag without actually getting anything out of it. And then, occasionally they come apart at the seams, dropping “F” bombs all over the place, frantically yelling out questions like “what aperture do I use?” And if they’re not careful to come back off of the cliff, some actually just sit down and give up or worse put the camera back on AUTO and start shooting Willy Nilly. I never have seen a good portrait of him. I get it. I’ve been there. But the difference now is that I’ve grown to a point as a photographer where what I do has become automatic or so engrained in my mind and muscles that it happens without much thought. Which in turn frees up a lot of brainpower for creativity and/or solving more complex issues present in the scene.
In mathematics there’s an order of operations that must be followed when making computations in order to get correct results. I believe there’s also an order of operations one should follow when photographing. While there’s no correct or incorrect photograph that results, the order does provide consistency and a procedure that in my opinion influences your rate of success. At the very least it can help stave off the freak out and subsequent barrage of “F” bombs. Below is my suggested Photographic Order of Operations, or POO for short. If you’re one of the aforementioned wide-eyed, “F” bomb dropping freakers try adopting these 5 steps to calm your nerves and get you on the path to better and more consistent results when shooting landscapes. If you’re not sure what to do at any of these steps you now know where to focus some attention before you head back into the field. I also recommend deliberately practicing these steps in order to make them an automatic part of your process when in the field.
1) Nail down your Composition – this should be done first and foremost. Every other choice you make in the Photographic Order of Operations (POO) will be to achieve your photographic vision, but you’ve got to have one first. I always suggest doing this without the camera mounted to the tripod. Spend some time exploring the area (ideally before the light goes off), find foreground elements, and experiment with different perspectives and lenses. Once you’ve settled on a composition fetch the tripod and get the camera mounted and in position.
2) Determine DOF and Aperture – once your lens choice is made and composition is set up it’s time to determine the depth of field you need for the composition. Do you want sharp details from foreground to background (ie landscape) or do you want to blur the background (ie wildlife portrait)? The answers to these questions will determine what aperture you’ll need to use.
3) Focus Lens for DOF – once you know how much depth of field you want you’ll need to focus the lens. I recommend doing this manually while using live view. If you prefer to use your camera’s autofocus I recommend switching it off after you’ve set the focus. That way the camera won’t refocus the lens each time you trip the shutter. This is especially important if you’ve recomposed after auto focusing and the active sensor is now over a part of the frame that’s different. Also, when focusing for depth of field in a landscape shot you shouldn’t be focusing on the nearest thing to the camera. Read up on depth of field and/or perhaps download an app for calculating dof and setting hyper-focal focus. While this isn’t the place for a lengthy tutorial, a good rule of thumb that’s been promoted throughout the years is to focus roughly 1/3 of way into the frame. This often works just fine. However, you should get in the habit of checking the scene using the depth of field preview button and zooming into the foreground and background using live view to be sure you’re covered at any given aperture.
4) Determine Filtration – at this point I’ll decide if I’m going to use any filters, like polarizers or ND. I may already have an idea or even know I’m going to use a filter like the ND to lengthen the shutter speed but I wait until now to attach it. This is primarily to aid in focusing the lens in the previous step. Sometimes the addition of a polarizer or ND filter can make it so dark that it’s difficult to focus or determine dof. Be careful not to bump the focus ring when attaching a filter since you’ve already focused. When deciding on the polarizer I simply hold it up in front of the scene (not attached to camera) and rotate it. If I like what I see, I use it. It’s pretty much that simple.
5) Meter and Shoot – at this point we’re ready to shoot, at least a test frame. Most of the time I use evaluative (or matrix) metering with aperture priority. I dial in the aperture as determined in steps 2 and 3 and fire a test shot. I then review the resulting image and histogram and make necessary exposure adjustments using the exposure compensation function. I also like to use live view and the live histogram with exposure simulation to determine exposure without taking a test shot. For scenes with broad dynamic range such as sunrise or sunset I’ll then decide whether or not to use a graduated neutral density filter or perhaps bracket for manual blending later in Photoshop. It’s also not a bad idea when reviewing an image to zoom into critical areas of the frame to determine if things are sharp where they need to be.
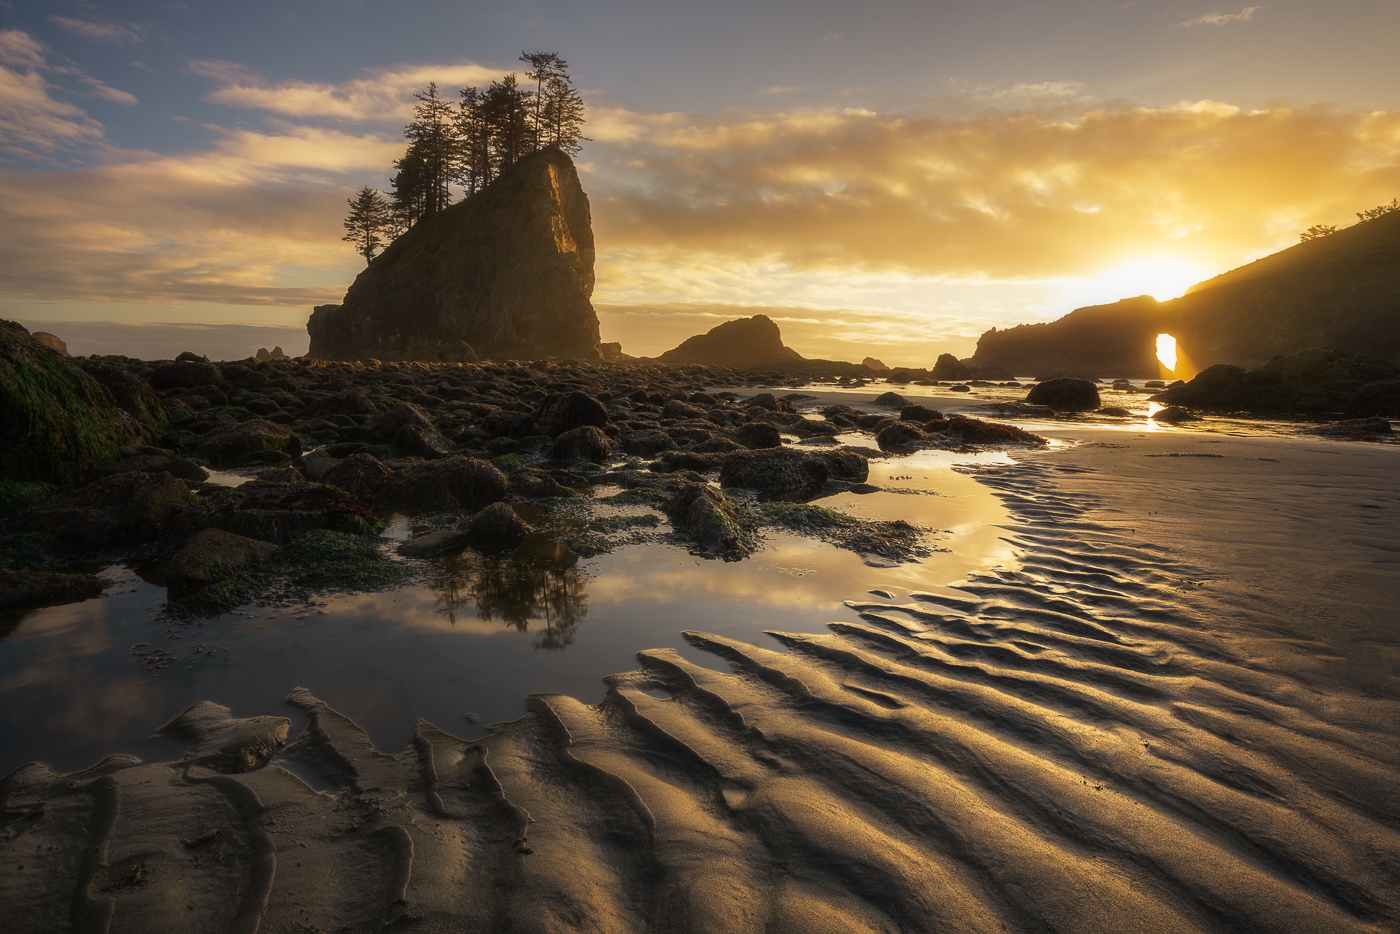
While shooting in Iceland recently I had the pleasure to witness an absolutely stunning light show on the iceberg beach near the Jokulsarlon Glacial Lagoon. The light was magical and the moment intense. I found myself scurrying around a little panicky trying to get a good shot before the light faded. After searching for what seemed like forever I finally found a pleasing piece of ice with good wave action for what I had in mind. After dialing in my composition and following the rest of the POO I could settle in and wait for the right wave action to bathe the iceberg in the foreground creating a pleasing arc and fill the mid-ground with a strong leading line and reflected cloud light.
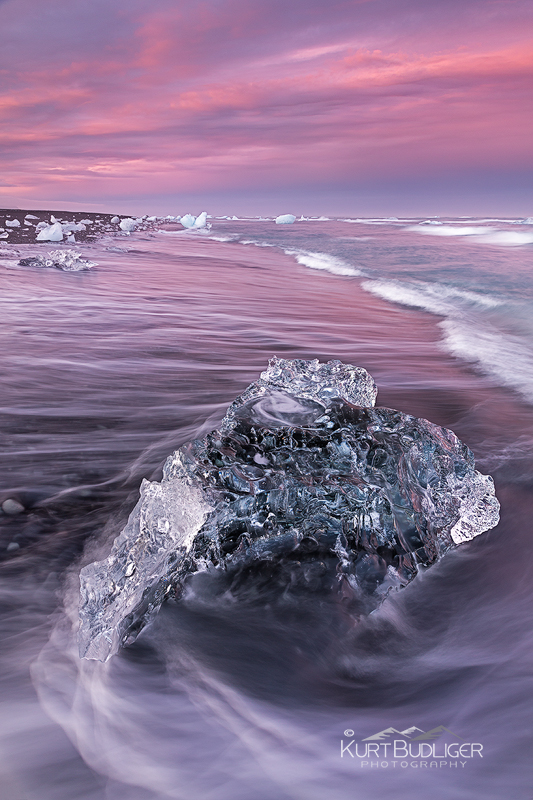
”Sculpted by Light” Canon 5DIII, 18mm, f 16 @ 1 sec, ISO 160, 3 stop grad ND


I appreciated this article. I have a habit of leaving my UV filter on the lens and then I take the pictures and when I end up in post processing I am usually not very happy with some of the results. I am fairly new to some of the concepts with my Canon 60D but I am learning something new with it every day.
You mentioned not leaving the AF on but what about using the AF button on the back of the camera body? I have found that it focuses pretty fast and I am becoming very comfortable using it.
I still have a lot to learn and I am still learning about the Histogram and the Metering aspects of my camera but I suppose that it will come in time as I continue to play with those settings.
Anyway, thanks again for the article. I enjoyed it and learned some great ideas from it.
This is such a stunning image. The combination of static and moment is fascinating. Besides the jaw dropping beauty, there is much to be learned from this image just by looking at it. I’m in progress of setting up my own Photoshelter site and am looking at other sites as a learning process. I’m enjoying your wonderful images and am finding lots of interest in your blog and the others things you have available on your site. Will be visiting again.
Thanks so much Julie and good luck with the site!