Winter is arguably one of the prettiest times to be an outdoor photographer. Winter white can transform an otherwise lifeless brown landscape into a magical wonderland. However, winter is also one of the most challenging and uncomfortable times to be outdoors shooting. Frankly the biggest limiting factor in winter photography is personal comfort (for me anyway, I’m a wus). If you’re not comfortable you won’t be free to think and see creatively and certainly won’t want to get up at o’dark thirty or stay out for the sweet light. Here are some simple tips I use that may help to improve your winter photography trips and hopefully allow you to make better images.
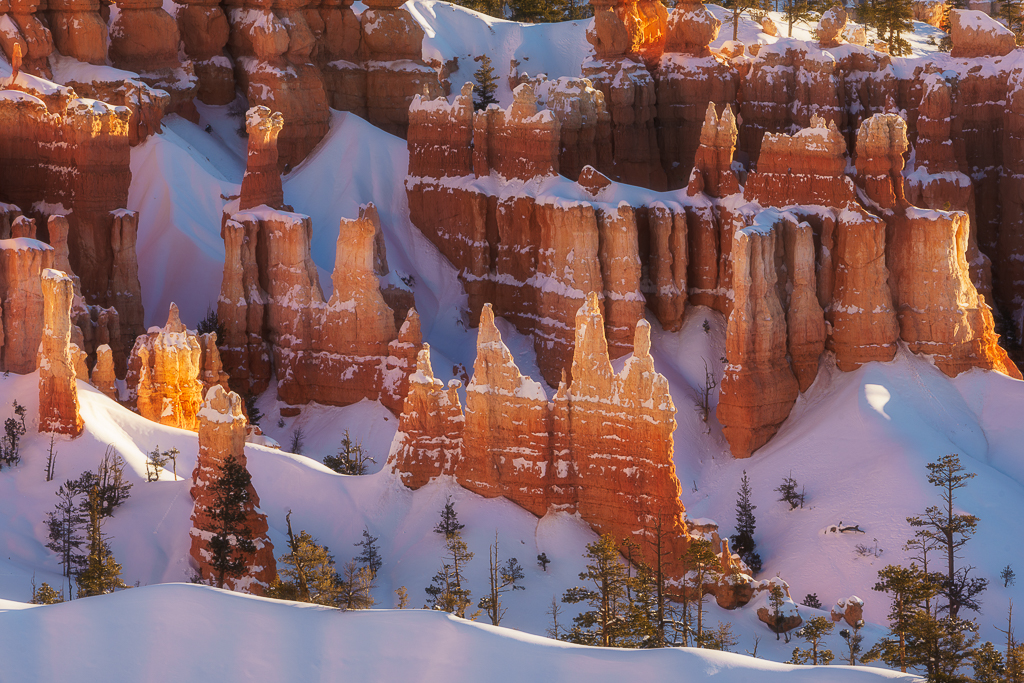
“Frosty Glow,” Bryce Canyon National Park, UT, Sony A7RII 165mm f16 @ 1/10 sec., ISO 100
1) Fresh Snow
By timing your photo outings with the end of a fresh snowfall event (especially important in the northeast and lower elevations) the landscape will look its best. The fresh snow hides all the dirty old snow, covers the brown patches of dead grass in fields and meadows and coats the limbs of trees in white, producing some beautiful patterns and contrast. It’s important to get out right away since this magical period of time is often quite fleeting, especially in the northeastern US where I live. Usually by mid morning after an overnight snowfall the breeze has picked up and blown the branches bare.
Another great time to be out making winter landscapes is early in the morning after a very cold night. I’ll usually wander down into a river valley to photograph the frost coated trees. Early in the winter the streams and rivers are usually still open (free of ice), the water is relatively warm compared to the air and on super cold nights the fog and mist that comes off the warm water freezes on everything close to the river bank. It can be quite beautiful, especially when backlit by the rising sun. Look for areas where frost covered trees are on the edge of light with a background that’s in shade for the maximum contrast and simplicity.
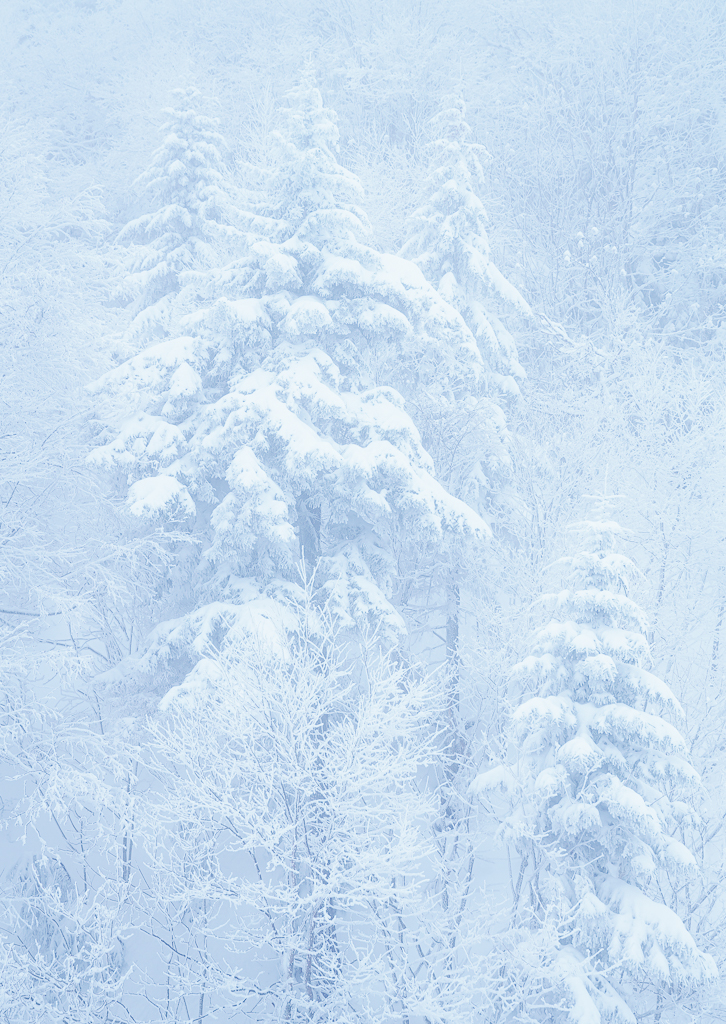
“Winter Shroud,” Green Mountains, Vermont, Nikon D850, 47mm, f8 @ 1/160 sec., ISO 200
2) Tripods in the Snow
Using a tripod in the snow is a real pain in the arse. If you can pack the snow down before you set up the tripod I recommend doing that. If the snow is really deep try pushing the legs down into the snow before fully extending them to the sides. This way as you push the tripod down into the snow, the snow will push the legs out the remainder of the way and ultimately you’ll get the tripod deeper into the snow. Otherwise, the outward force of the snow could damage the legs and you won’t be able to get as sturdy a placement. Some tripod companies offer snowshoes for the tripod. These disk-like attachments can be used in place of the stock feet and allow the tripod to be set up without sinking very deep into the snow pack.
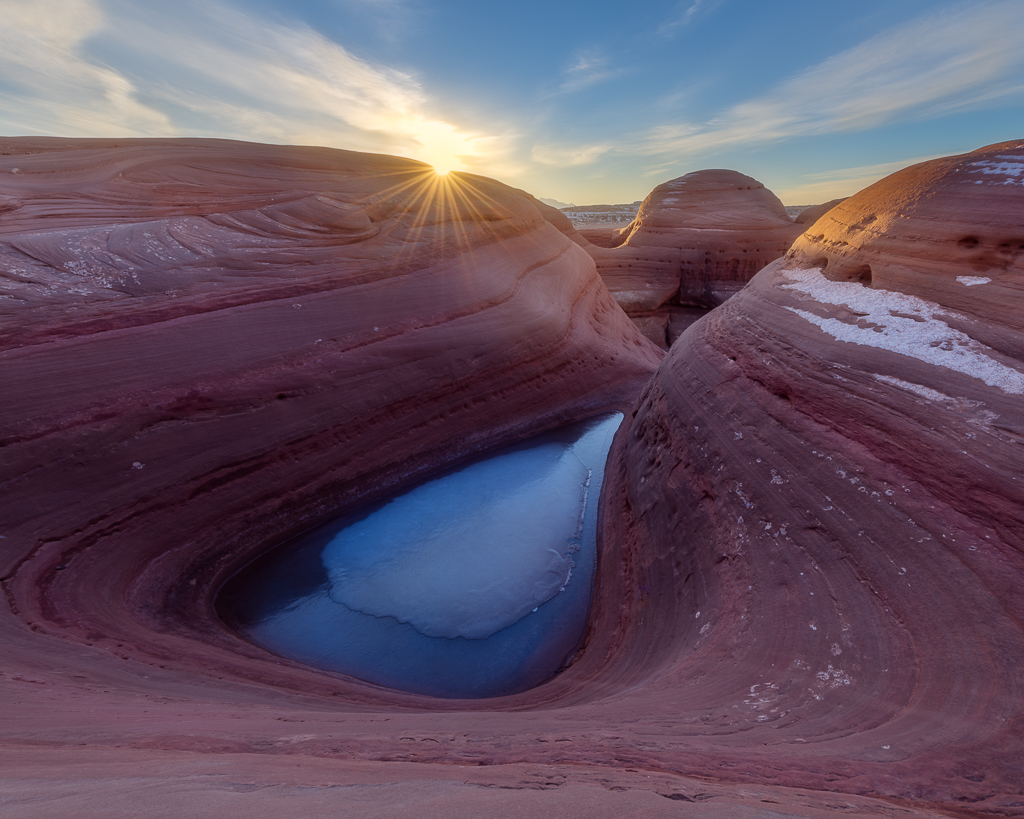
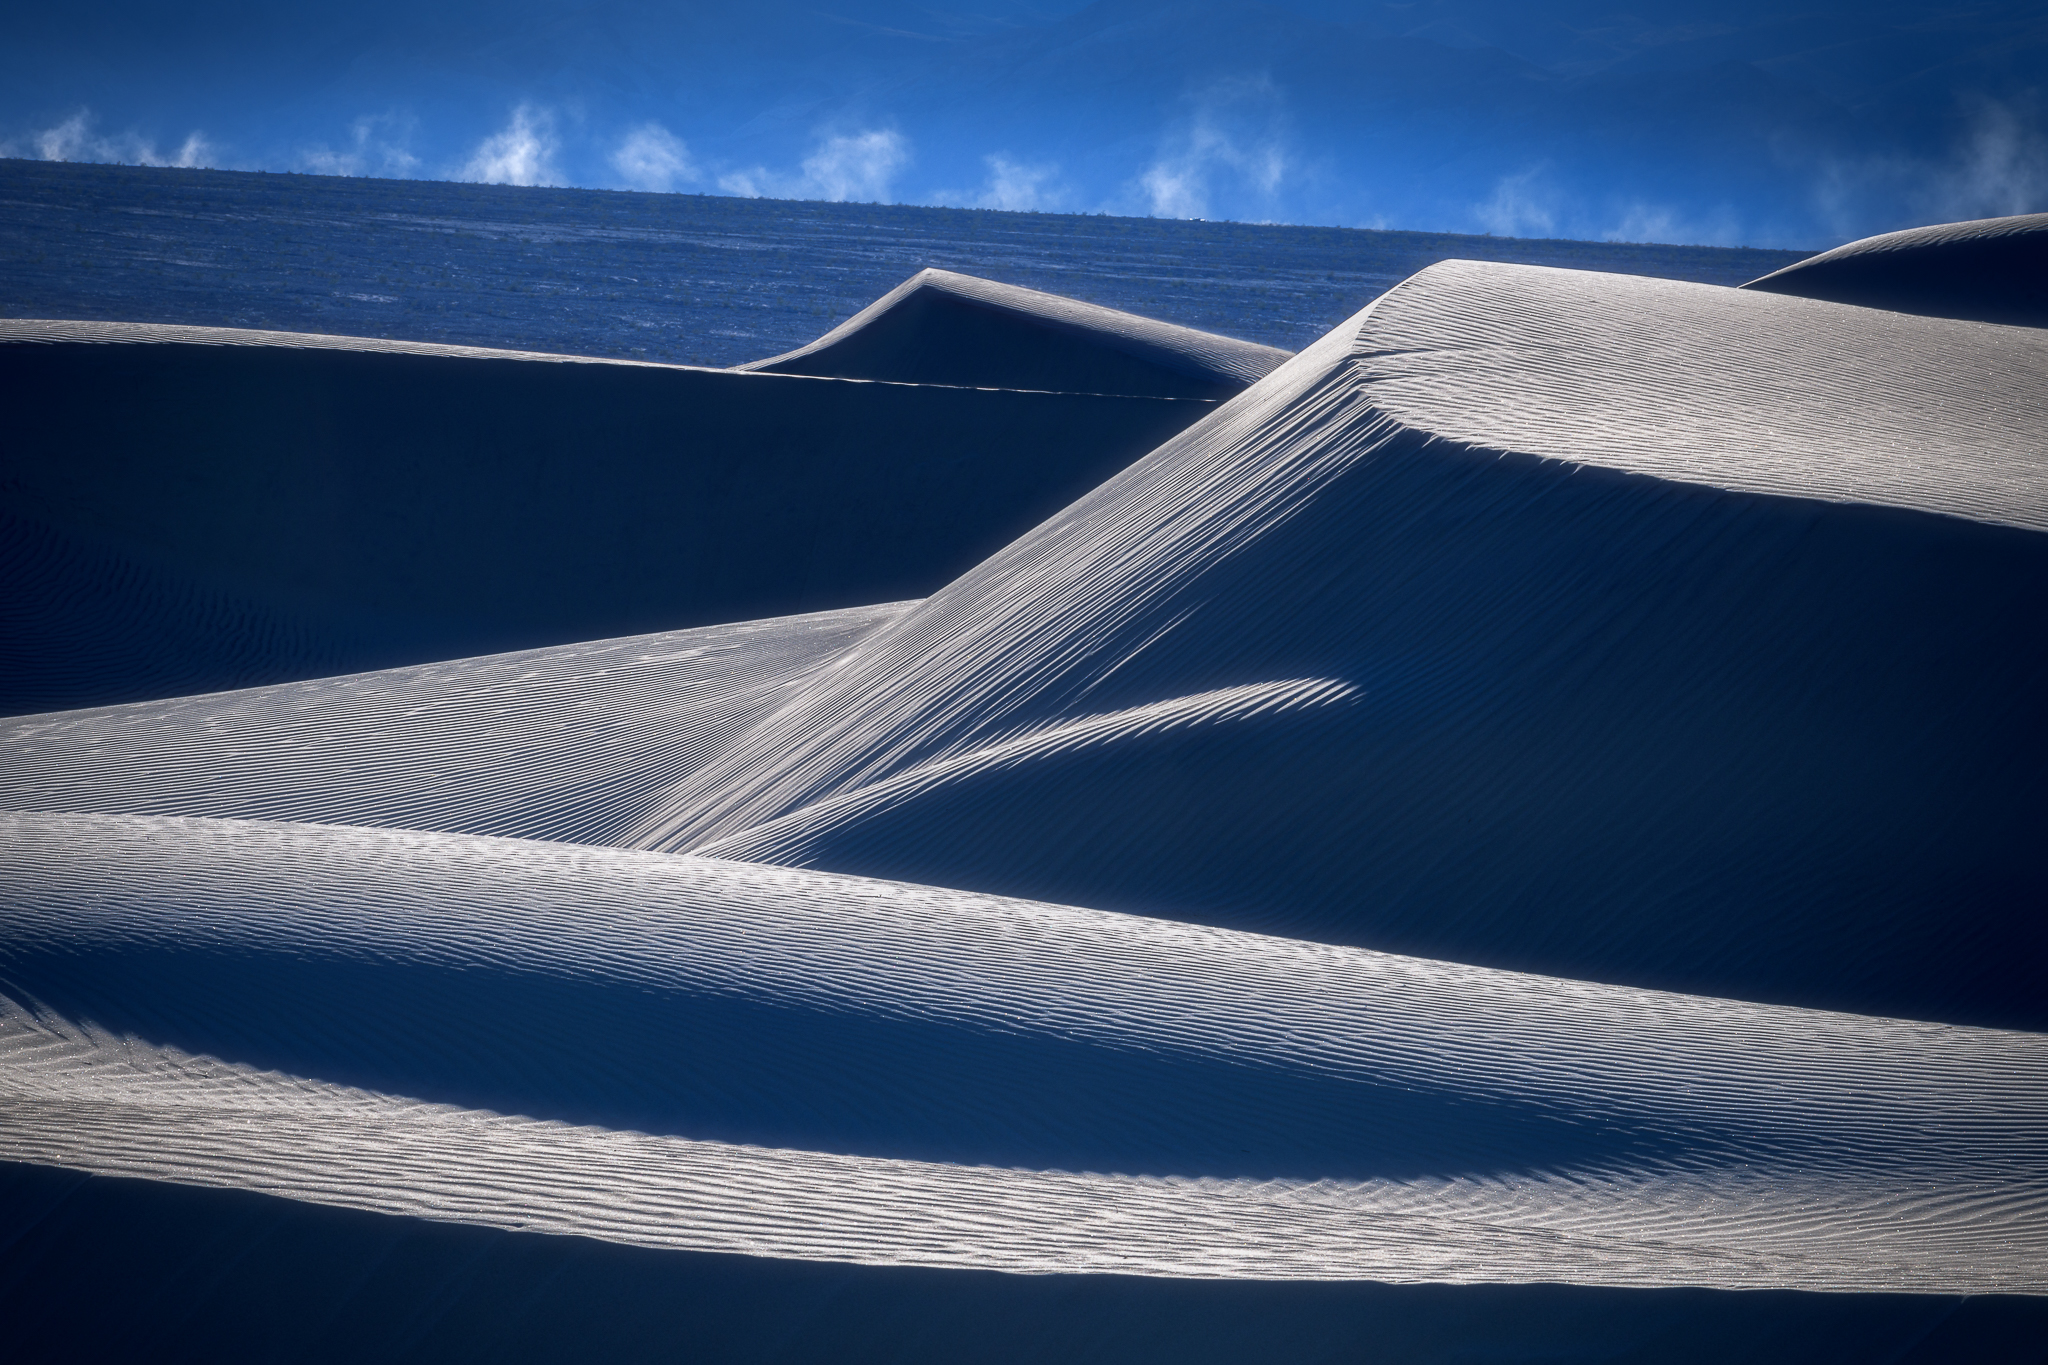
“Lion’s Den,” Canyonlands, Utah, Nikon D850, 14mm, f16 @ 1/40 sec., ISO 64
3) Leap Frog Your Batteries
Bring at least two fully charged batteries. Keep one in the camera and the other in an interior pocket close to your body. When the camera’s battery starts to wane (due to cold temps) simply swap the cold sluggish battery for the warm one. Place the cold battery in an interior pocket close to your body and allow it to warm back up. You’ll be surprised how well a battery will perform again once it warms up. You can keep this rotation going for quite a while, perhaps all day.
4) Acclimate Your Camera
Before bringing your camera back indoors or into a warm car place it in a sealed plastic bag. If you bring a cold camera inside a warm environment you’ll cause condensation to form on, or worse inside the body and/or lenses. By placing it in a sealed bag first, the condensation will form on the outside of the cold bag and not your camera. Allow the camera and/or lenses to warm to room temperature before taking them out. If you leave your camera in a dedicated camera bag or pack, don’t open it indoors until the interior of the bag has acclimated, you’ll be surprised how long this can take (sometimes hours). All that foam padding that protects the camera also serves as insulation, not only keeping out the cold but keeping it in as well.
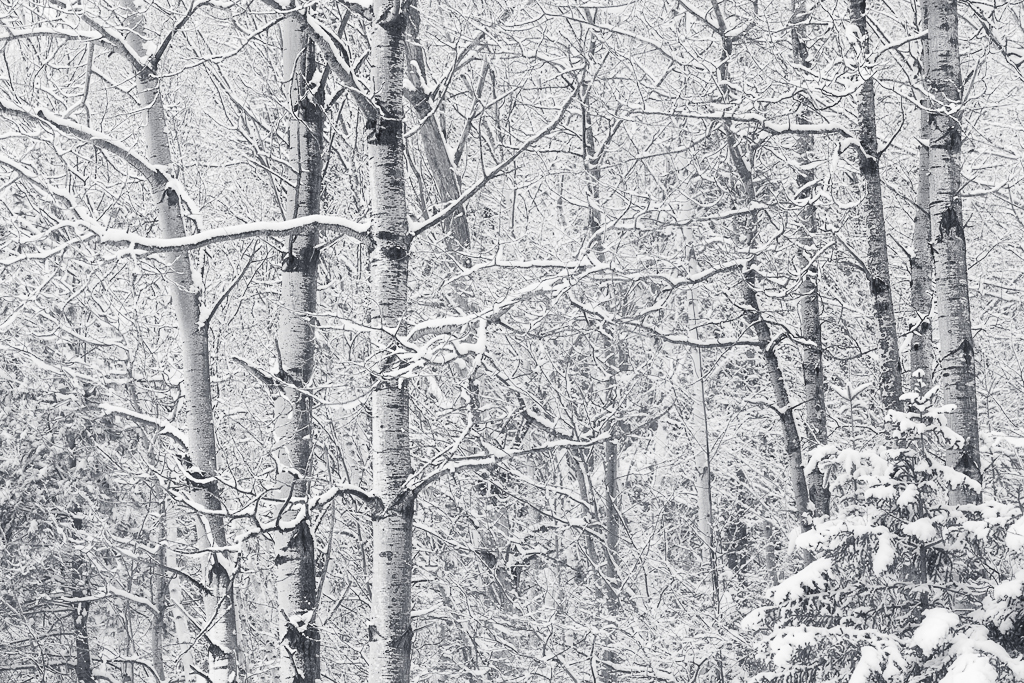
“Winter Woods,” Green Mountains, Vermont, Canon 5DIII, 120mm, f11 @ 1/30 sec., ISO 100
5) Warm Hands and Feet
Hands can get cold super fast and wearing heavy gloves or mittens limits the dexterity needed to operate a camera. I like to keep a set of chemical hand warmers (aka Hot Hands) in my jacket pockets. I’ll then wear only a thin pair of liner gloves for full dexterity when handling my camera. When my hands start to get cold, into the pockets they go to warm up. If you don’t let them get too cold you can warm them up quickly and avoid the discomfort of numb fingers. When I’m done with the shot and ready to move on I put a warmer glove or mitten back on.
There’s only one thing worse than cold hands; cold feet. Feet sweat a lot, even in winter and when they do your socks and boot liners will get damp. When this happens there is almost no way to keep your feet warm, even in sub-zero rated boots. A lot of mountaineers and winter backcountry enthusiasts will use a vapor barrier sock to keep moisture from permeating their insulation layers. I’ve always found vapor barrier socks to be super uncomfortable. Here’s a tip I learned back in my ice climbing days. Before you put your socks on in the morning coat your feet with an antiperspirant spray (not deodorant!). This will prevent your feet from sweating and thus keep your feet dry and warm. Plus they won’t be stinky either!
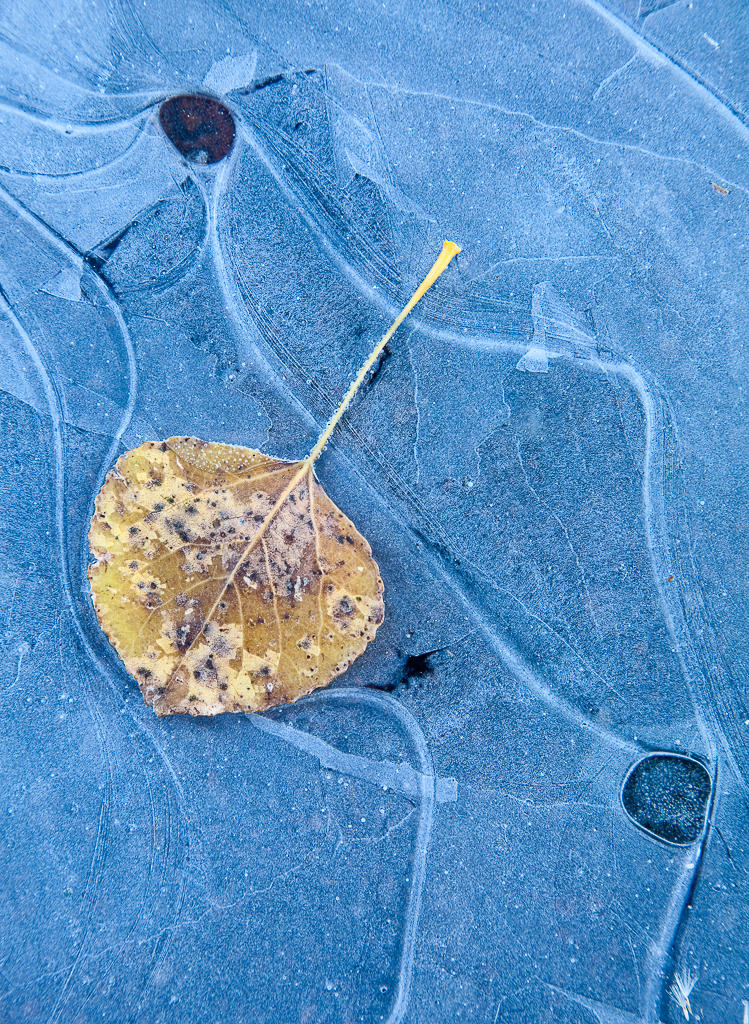
“Frozen in Time,” Acadia National Park, ME, Canon 5D, 105mm, f11 @ .4 sec., ISO 100
I hope these handful of tips and tricks will help you to get out into the elements this winter and make some beautiful winter images. Remember it’s really hard to be creative and concentrate on the photographic process if you’re uncomfortable. But with a little planning and preparedness you should find this time of year quite rewarding photographically. If you’ve got some other useful tips and tricks for making the most of winter outings please feel free to share them in the comments.


Nice list. One more that’s caught me up more than once: If you are going in and out of a vehicle, you may find your camera warming up for a period and then getting cold again. This presents two problems:
1) You get condensation on the lens, and then it freezes, which is the worst of both worlds.
2) Temperatures near the lens are slightly warmer, making for less dense air, and the air column between you and your subject is cold. That creates a lensing effect that makes things blurry.
Solution: keep the windows open and leave the heat off. Note: this is not a popular solution among spouses and children.
Oh that’s a great observation and tip Tig! Thanks for sharing.
Great reminders Kurt. Heading up to the Grand Canyon for Christmas and we are expecting snow!!
Thanks for stopping by Suzanne. I’m a more than a bit jealous about you going to GC for some winter shooting, been on my bucket list for a while. Can’t wait to see what amazing photos you make! Have a great holiday season!