“Autumn Surprise,” Groton SF, Vermont, Sony A7RII, 52mm f16 @ 1/50 ISO 100
As photographers we’re keenly aware of light every time we head out to shoot, or at least we should be! There are few elements that can improve a photograph quicker than light, it literally can make or break a shot. How many mediocre compositions and subjects have you seen come alive because a dynamic and/or colorful display of light took center stage?
I love dramatic light and one of my favorite types of light to shoot in for added drama is backlight. I think it’s safe to say that if I was forced to choose one light direction to work with for the rest of my career it would be backlight. This type of light can be extremely challenging to work in and many beginning photographers are either intimidated by it or have been encouraged to avoid it. With today’s modern digital camera sensors backlight should neither be feared nor avoided. Here are 5 of my favorite tips to get you started on your path to enlightenment.
1) Position the sun (or other light source) behind your subject. I know that may seem relatively obvious since isn’t that the definition of backlight? Sure, but by hiding the light source behind your subject you can often avoid direct light hitting the front of the lens and thus eliminate flare, while at the same time create a pleasing “glow” or “halo” of light around its perimeter.
2) Look for subjects that benefit from less contrast (very popular technique for female subjects). When the light source is included in the frame there is often a softening or loss in overall contrast, this can be advantageous with the right subject, things like flowers, wildlife, and portraits. It can also serve to create an ethereal atmosphere in the image.
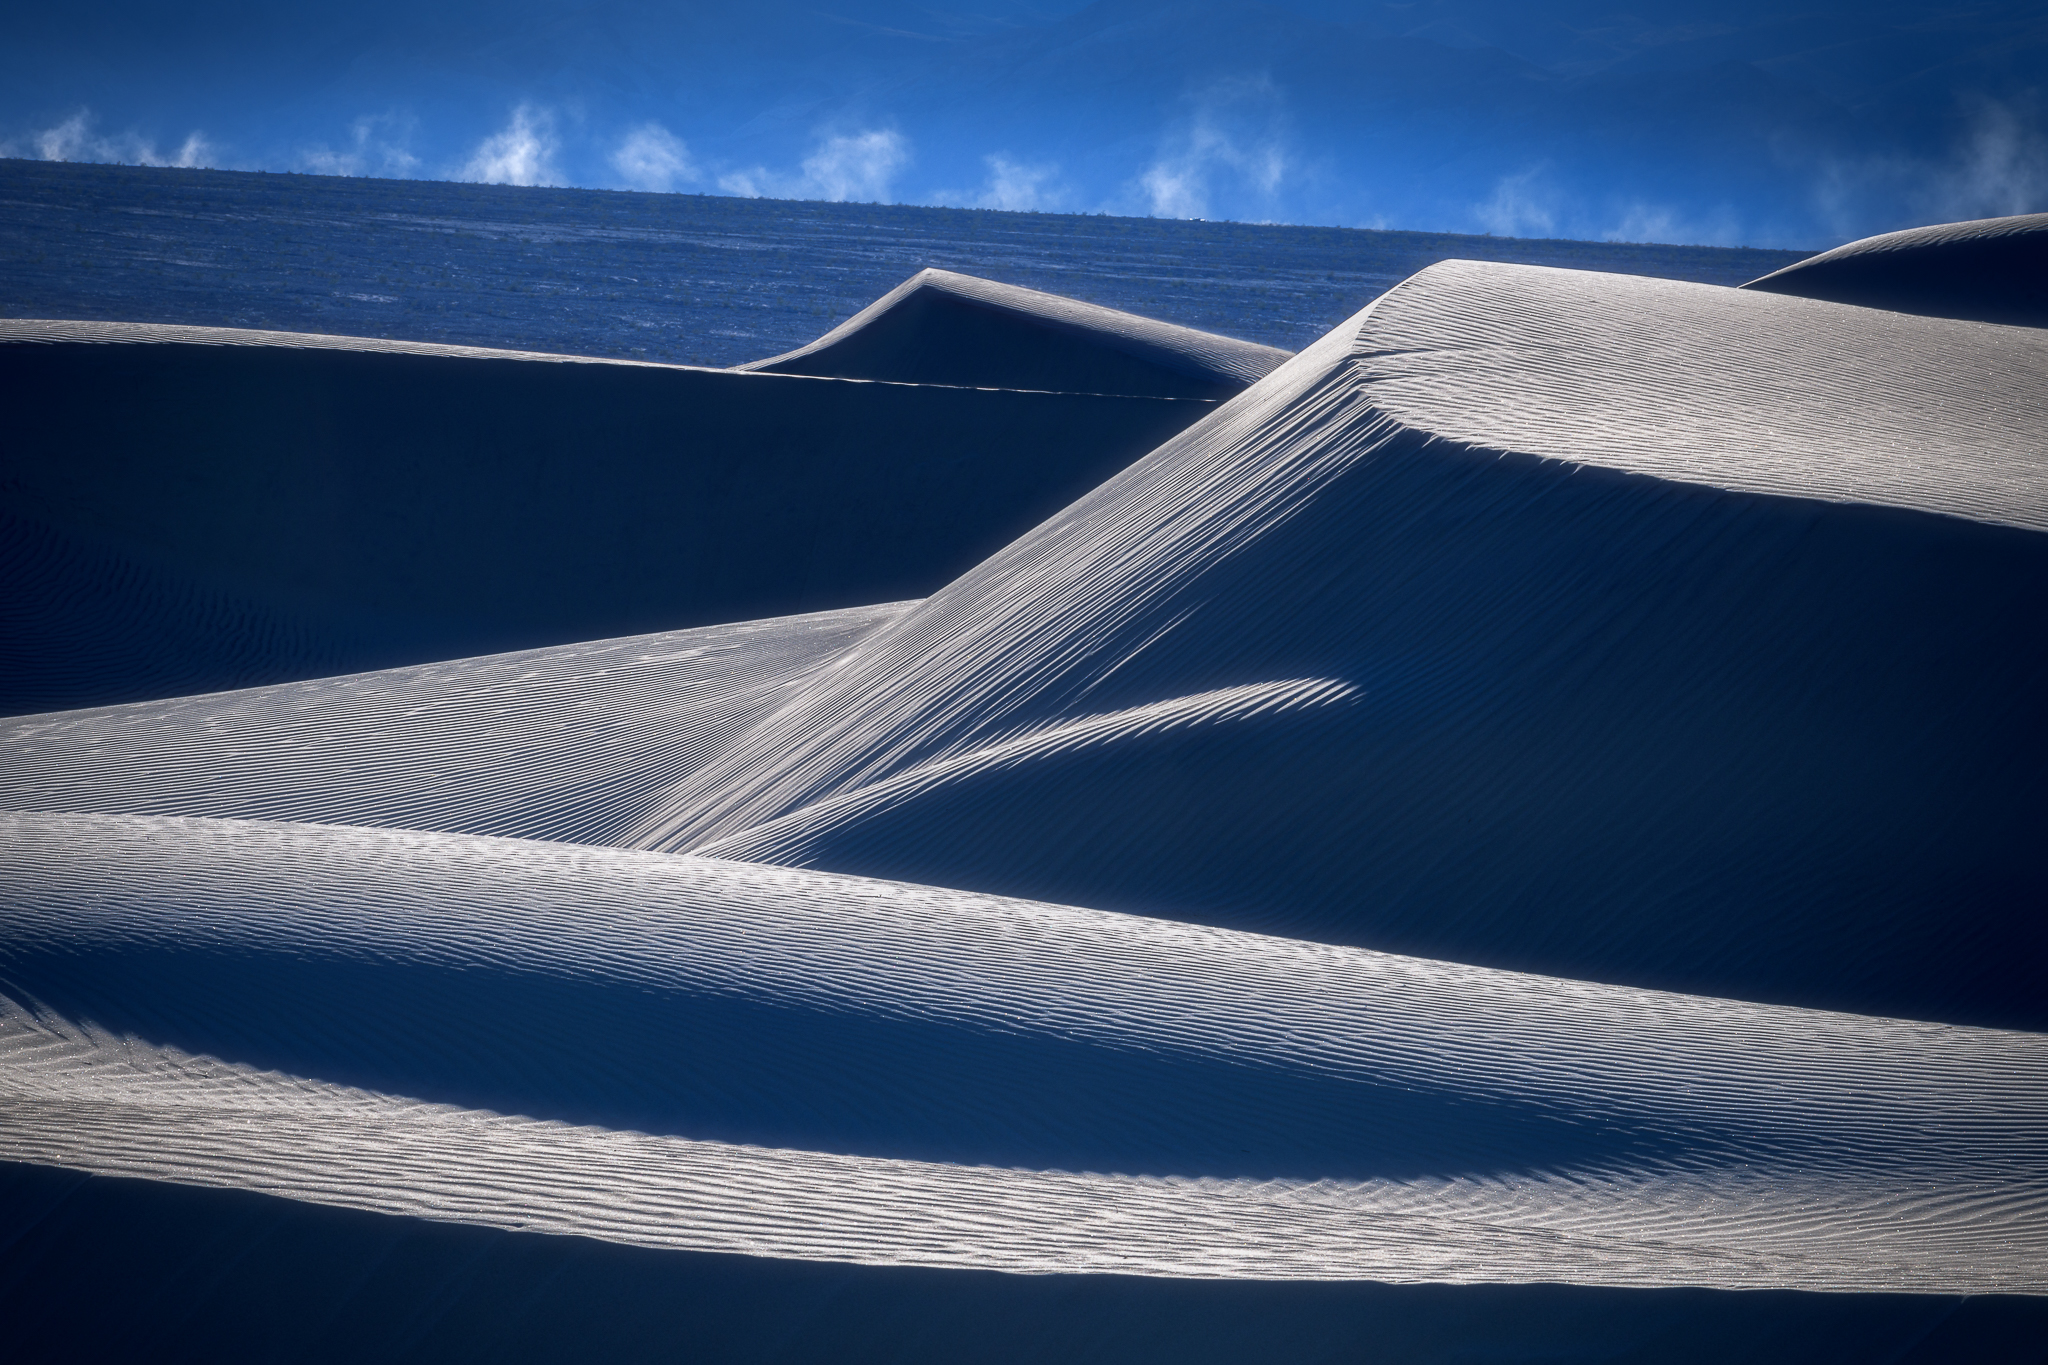
3) Embrace the shadows. Look for graphic elements around which to structure a composition and if there is some good color in the background (sunset sky for example) let your foreground subjects go to silhouette. This can sometimes allow you to make images in less than ideal locations since by letting the foreground subjects render as black silhouettes you’ve greatly simplified a potentially less than photogenic subject/location.
4) Shoot subjects that are translucent, like foliage. There is nothing like backlit autumn foliage. When light passes through these subjects it makes colors pop, almost as if they are emitting their own light. And if you can place the subject against a shadowed background, like a distant hillside the pop will be even more pronounced.
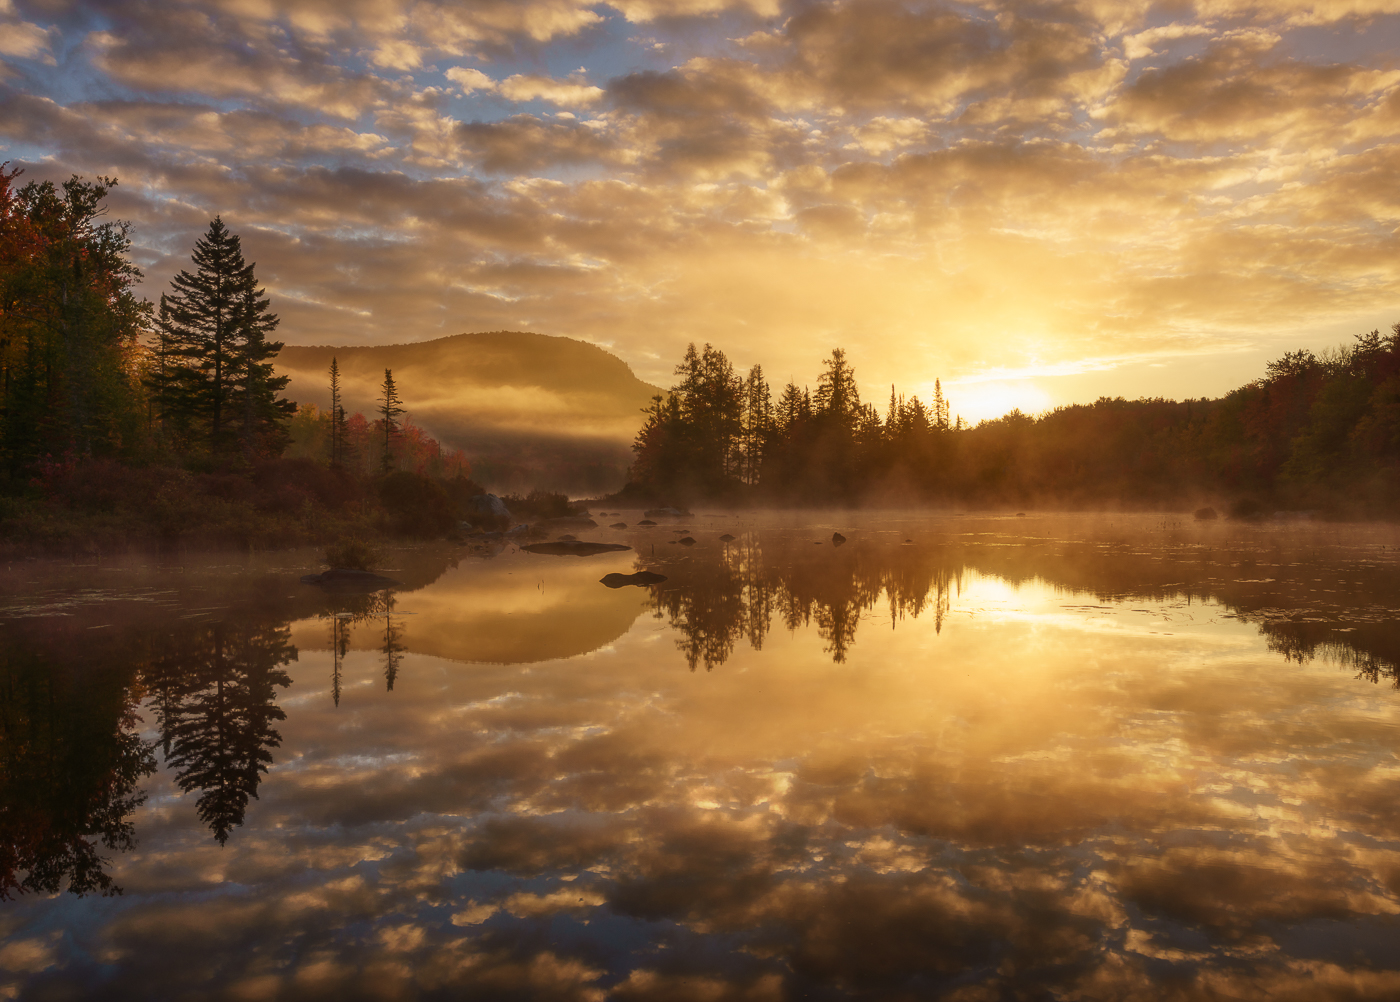
5) Add a sunstar for extra drama. I’m a huge fan of the sunstar (maybe even to a fault). To pull these off well you’ll want to stop the lens down to a narrow aperture like f22. Then position your camera so the light source is slightly or mostly obscured by some element in the composition; a cloud, a tree, or the horizon. This will help create the more elongated and pleasing rays emanating from the sun. Watch for flare occurring using your lcd. If necessary shoot an identical frame while blocking the sun with your thumb and then use that frame to blend back the portions of the scene effected by flare.

“Golden Glade,” White Mtns New Hampshire, Sony A7RII 50mm f22 @ .3 sec ISO 400